Hi Guys! When managing files on Windows, you may encounter situations where you need to copy only those files that were created or modified within the last X days. Here are the two tools that can help you accomplish they are Copywhiz and Teracopy. In this blog post, we’ll walk through how to use each tool step by step.
What is Copywhiz?
Copywhiz enhances your file-copy experience by letting you to have more flexibility & control over the file copying and backup process.
Here is how Copywhiz makes file copying a breeze:
- Copy only new or modified files
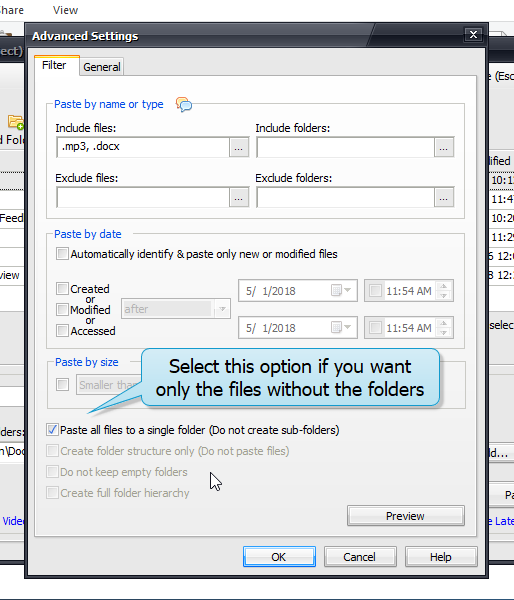
- Easily pick files by name, extension, folder etc from bunch of folders
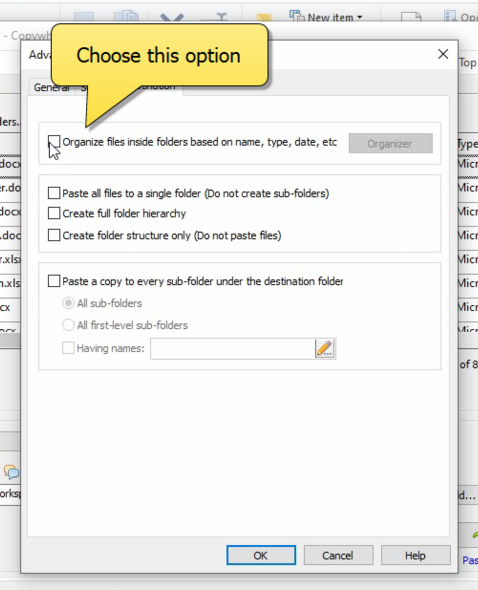
- Automatically organize files based on file attributes and metadata
- Copy files to multiple folders/computers
- Copy files from multiple folders and paste them at once
- Sync files between source and destination
- Pick files from multiple folders and compress in single .zip file
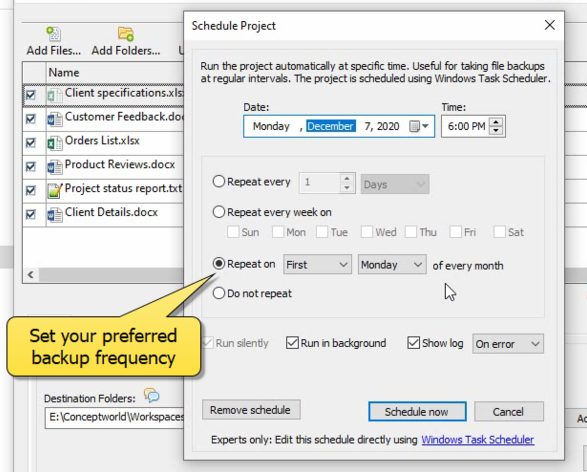
- Schedule file backups
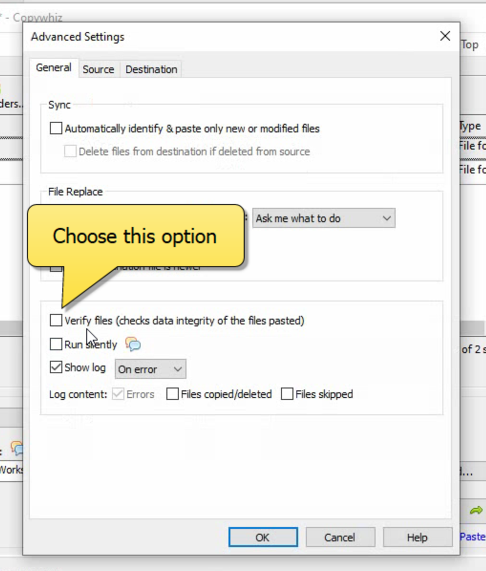
- Verify copied files for data integrity
- Retain security attributes of files & folders (ownership/user access)
- Several more hidden nuggets designed to make your file-copy task easier.
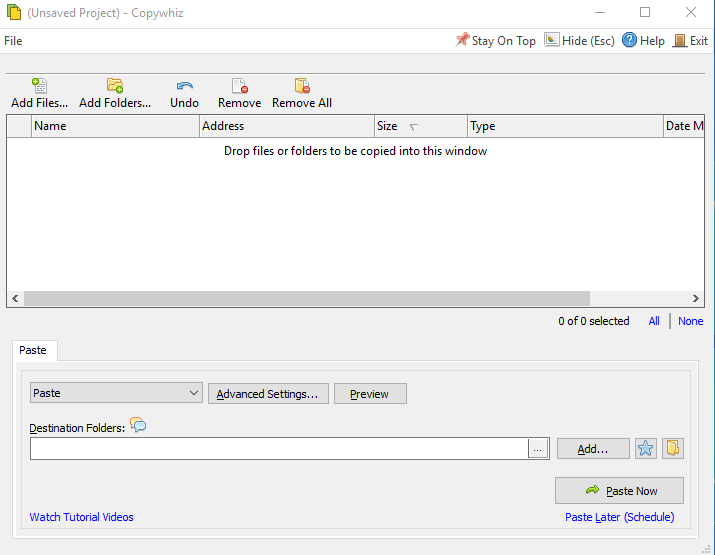
An image showing one of Copywhiz’s feature
Using Copywhiz:
Here is a short video that shows how to achieve the above mentioned feature:
Video Transcript:
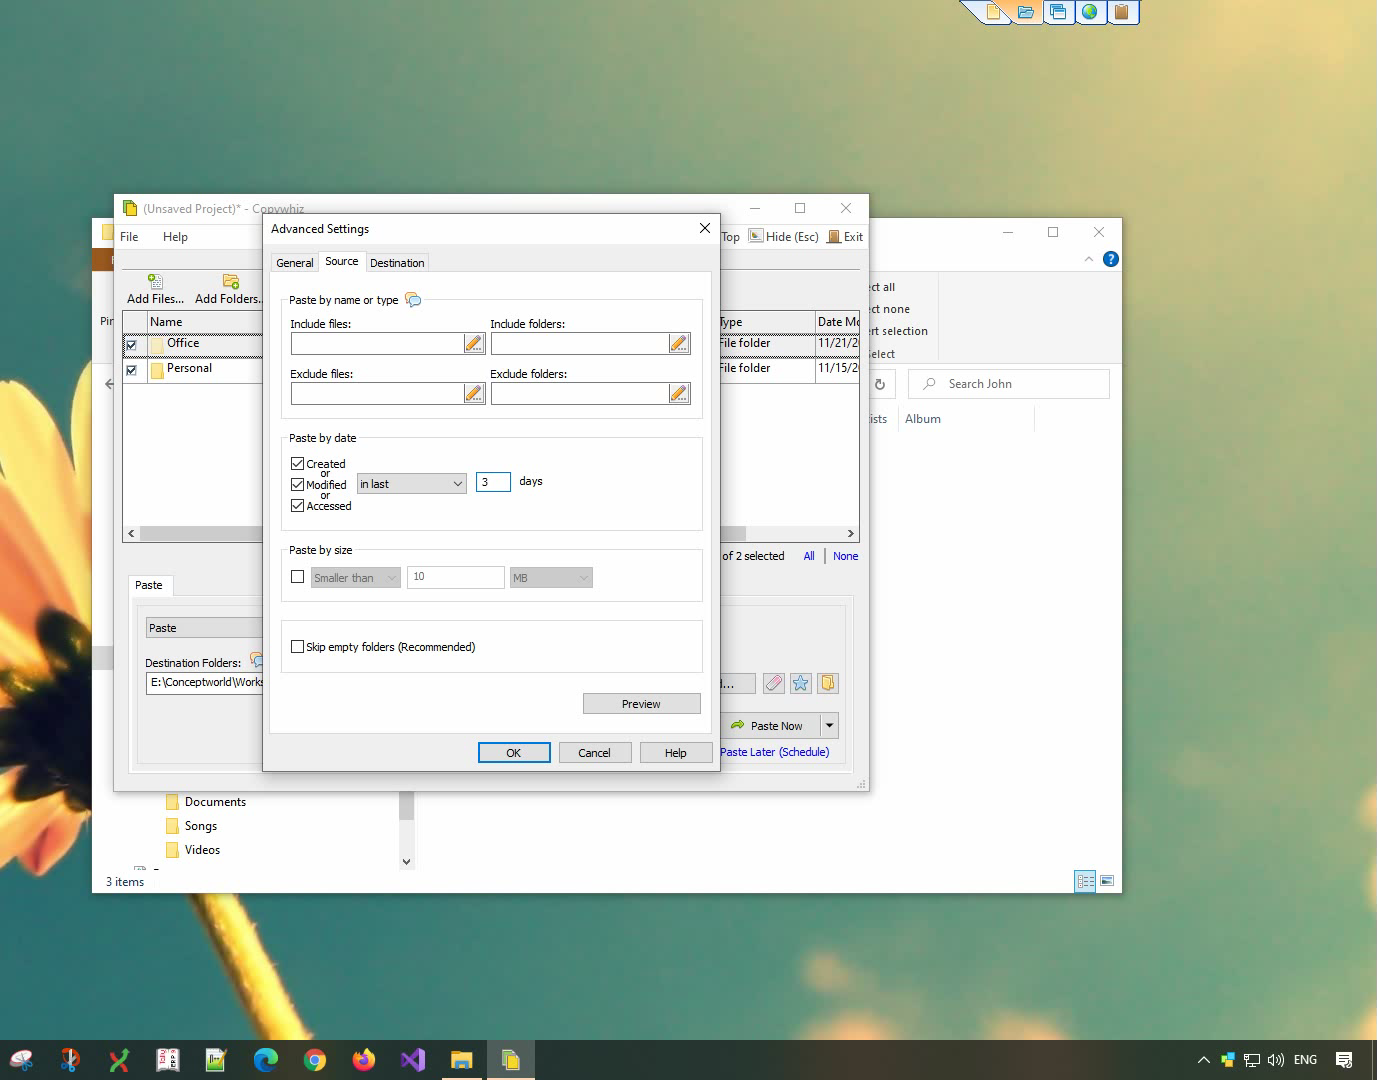
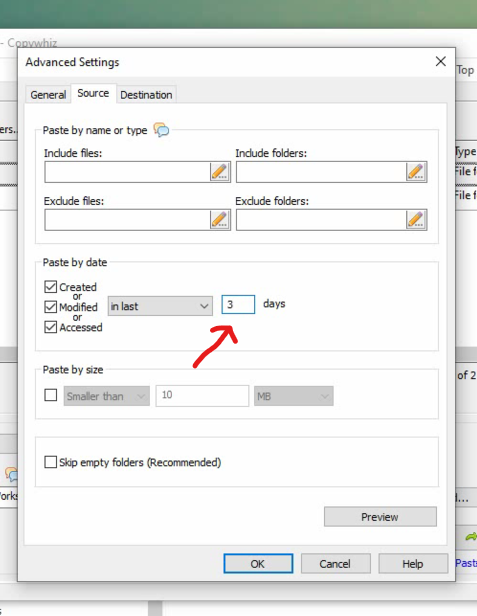
- In this video, we will copy which files were created/modified/accessed in the past X days.
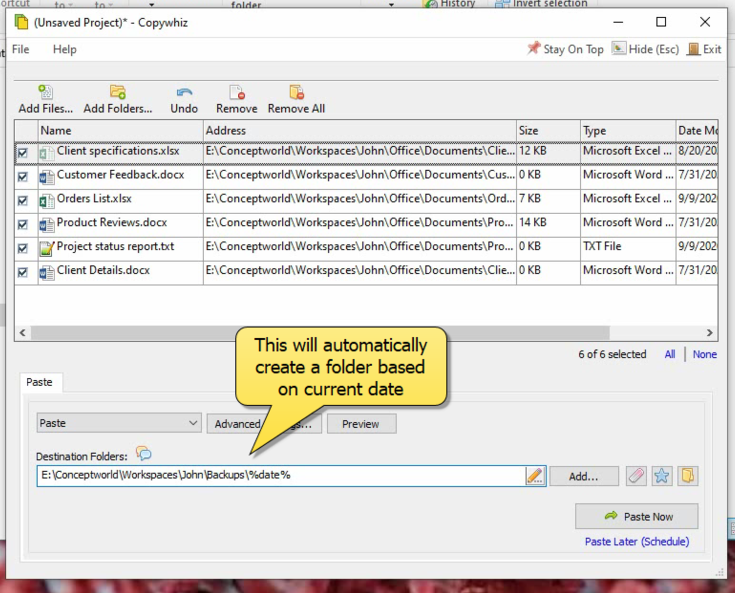
- Select the folder, right-click and add it to Copywhiz.
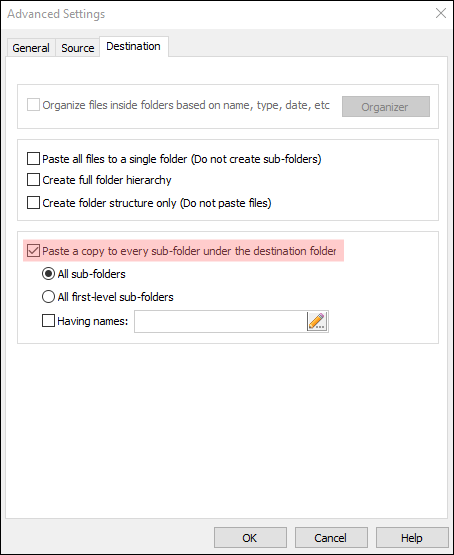
- Go to the destination folder, right-click and choose Copywhiz Paste Advanced.
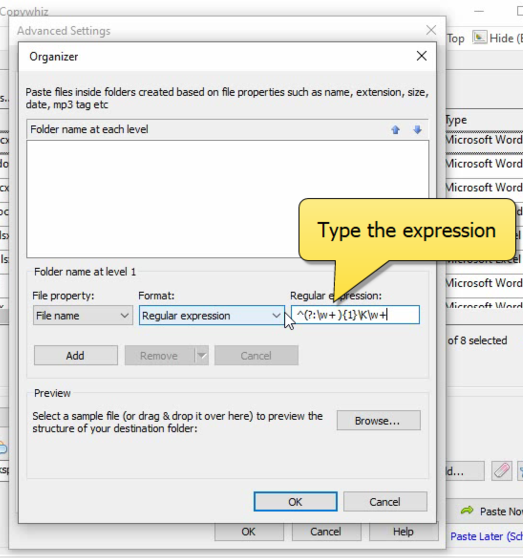
- In the Source Tab, go to the ‘Paste by date’ section.
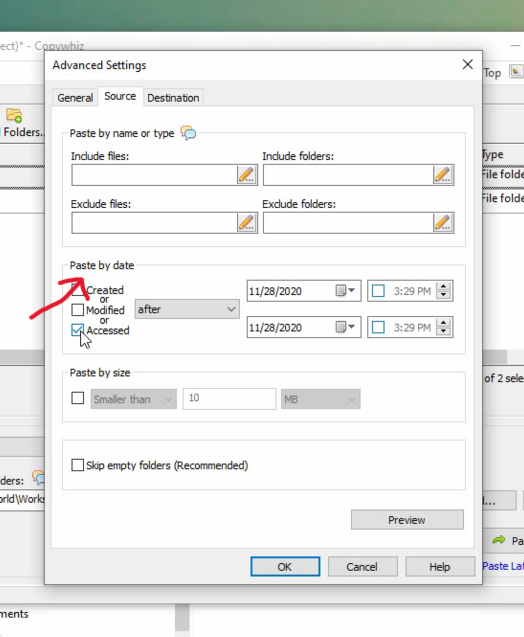
- Select the criteria and mention the number of days.
- As in the video shown, you can see the preview.
- We can mention a date range as well.
Using Teracopy
Step-by-Step Guide to Using Teracopy:
- Download and Install Teracopy:
- Visit the Teracopy website and download the software.
- Install it on your Windows PC.
- Open Teracopy:
- Launch the Teracopy application.
- Select Source and Destination Folders:
- Click on the “Add Files” or “Add Folder” button to select the files or folder you want to copy.
- Set the destination folder where the files will be copied.
- Filter by Date:
- Use the file filter options in Teracopy to include files modified within the last X days.
- To do this, click on the filter settings and specify the date range or relative date (e.g., “last 7 days”).
- Start Copying:
- Click the “Copy” button to begin the file transfer process.
Conclusion
Copywhiz is an advanced, user friendly file copy and backup tool.
Learn more about Copywhiz. Download the free trial from here.
For short tutorial videos, Check out this page.
Subscribe to our YouTube channel for interesting videos.
Check out our other cool products.
Have a good day!
Thanks for reading :)