Hello Guys!
In this blog post we will be learning how Notezilla allows us to add non rectangular transparent pictures on Windows desktop using fully transparent sticky notes having invisible background. Change the transparency level (opacity) of sticky notes on Windows anytime or create new sticky notes with the transparency level already set.
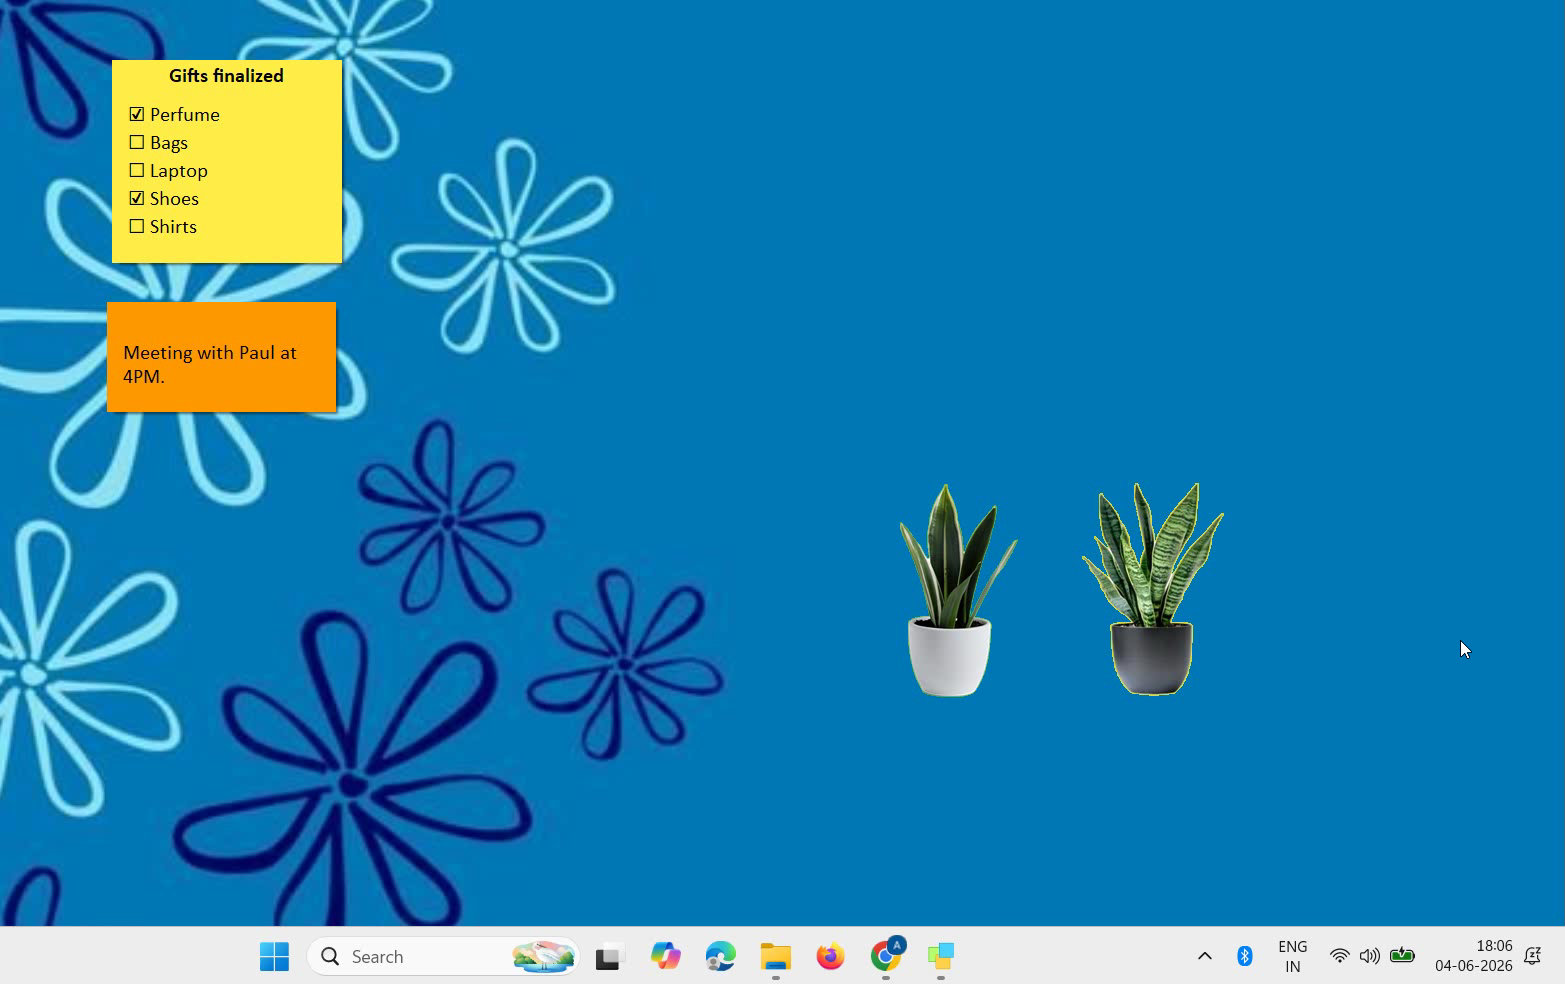
The best part about this feature is images blend naturally into the background instead of appearing inside plain rectangular boxes. Makes it easy to combine multiple visuals without visible borders.
What is Notezilla?
Notezilla is a professional, elegant & highly rated sticky notes app for Windows & Phones (Android, iOS, iPhone, iPad etc). You can also access your sticky notes from a Mac.
Notezilla helps you organize various tiny bits of information you would need through out your life. It keeps all your notes, tasks & reminders handy where ever you are. With sticky notes, you hardly have to put effort to take notes, set reminders, etc. Quickly jot down & move on with your task at hand.
Here are some features of Notezilla:
- Sticky notes with reminders
- Attach sticky notes to websites, documents, folders & apps
- Organize sticky notes inside folders to keep your Windows desktop clean.
- Pin sticky notes on top of other apps
- Sync sticky notes between Windows, Android, iPhone, iPad
- Add pictures inside sticky notes
- Checklist sticky notes
- Lock sticky notes (password protect)
- Markdown support
- Send notes over local network (LAN) or across the globe
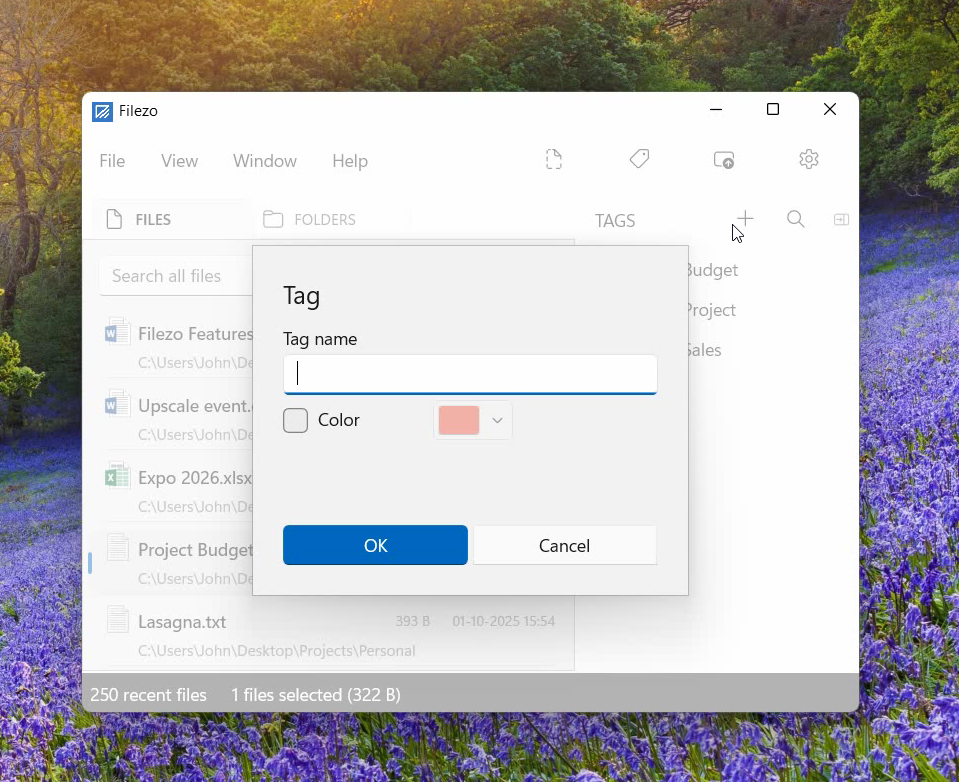
- Tag sticky notes
- Fully transparent sticky notes
- Dark mode
Here is short video describing this feature:
Video Transcription:
- As you can see in the video, we already have a rolled-up sticky note created using Notezilla.
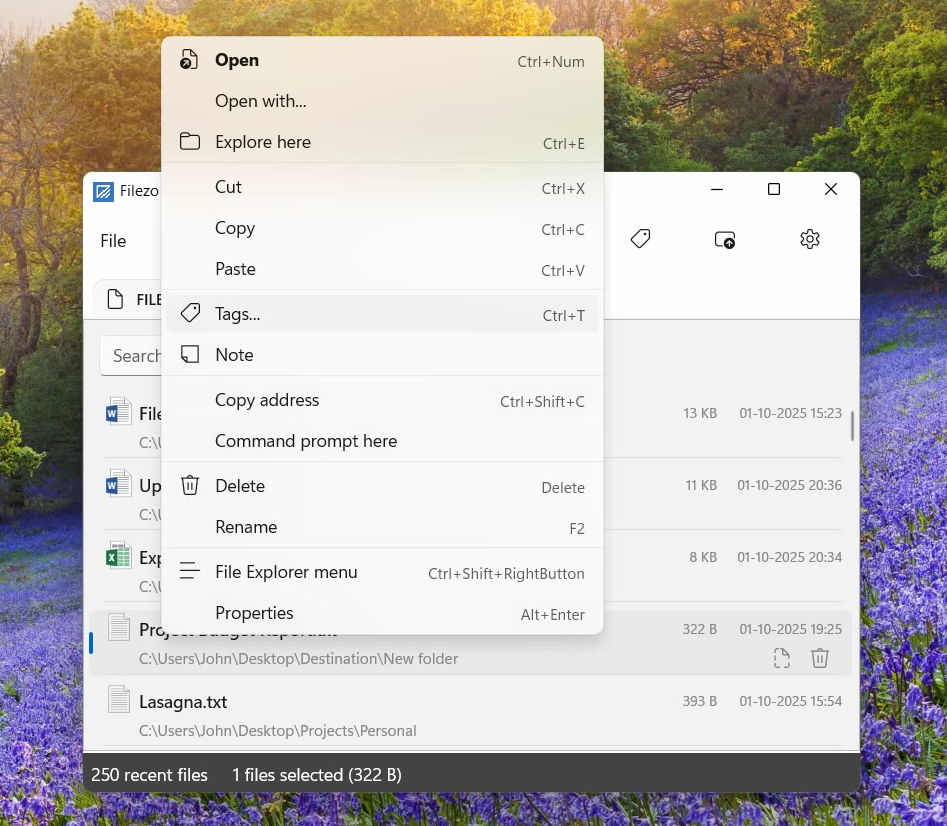
- Right click inside the sticky note and select the option on Add picture.
- Select the desired picture.
- Then click on the top-left button of the sticky note to access the note’s menu.
- Go to appearance menu and choose transparency, full.
- And as we see in the video, we have a nice non-rectangular picture on the desktop.
- To move the note, click on the title and drag the note.
- There’s more than one way to add the images to your sticky note. We will drag and drop a picture inside the sticky note.
- Next, choose transparency as full.
That’s it. So easy to use and very convenient. Try it today and you will love it for sure. Go download it from the Play store or app store today and sync all your sticky notes with the Windows version of Notezilla.
Learn more about Notezilla.
Subscribe to our YouTube channel for interesting videos.
Check out our other cool products.
Have a good day!
Thanks for your time :)