Apart from the normal and advanced file copy features, Copywhiz offers some special features you would really appreciate. It lets you retry or skip files on error, run Copywhiz silently in the background, show error logs, and lot more.
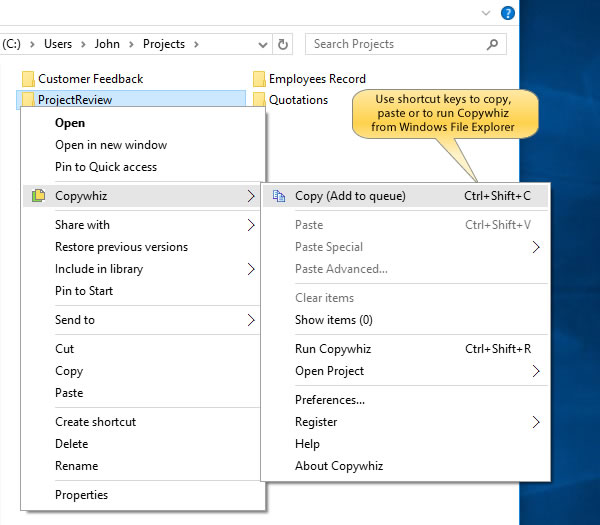
But you might not know that Copywhiz also lets you run a project from the command line. This post will explain more about this feature.
What is Copywhiz?
Copywhiz enhances your file-copy experience by letting you to have more flexibility & control over the file copying and backup process.
Here is how Copywhiz makes file copying a breeze:
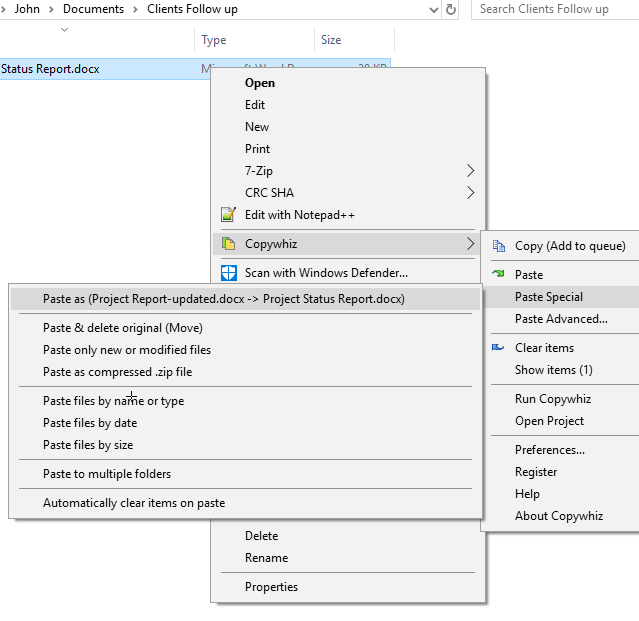
- Copy only new or modified files
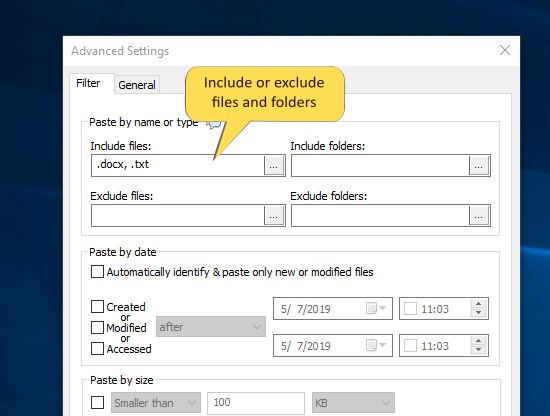
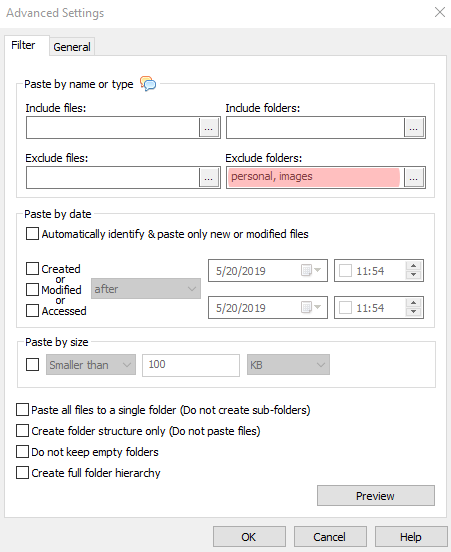
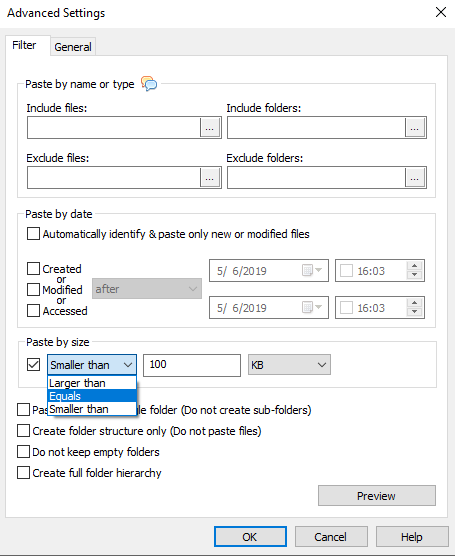
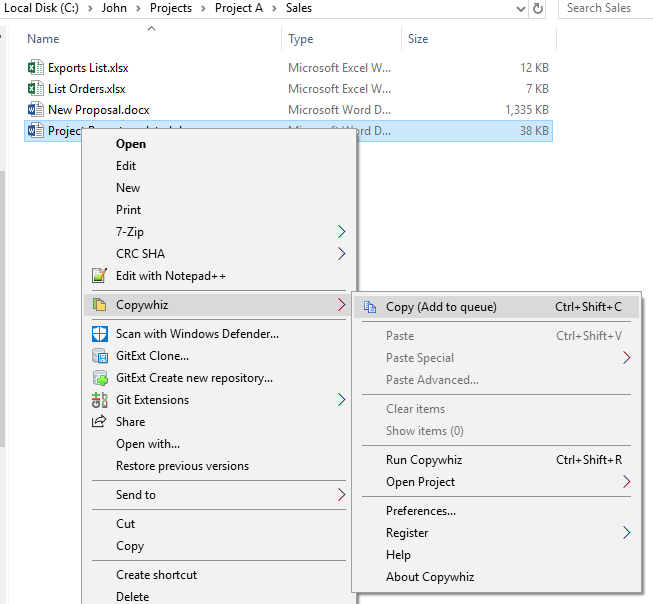
- Easily pick files by name, extension, folder etc from bunch of folders
- Automatically organize files based on file attributes and metadata
- Copy files to multiple folders/computers
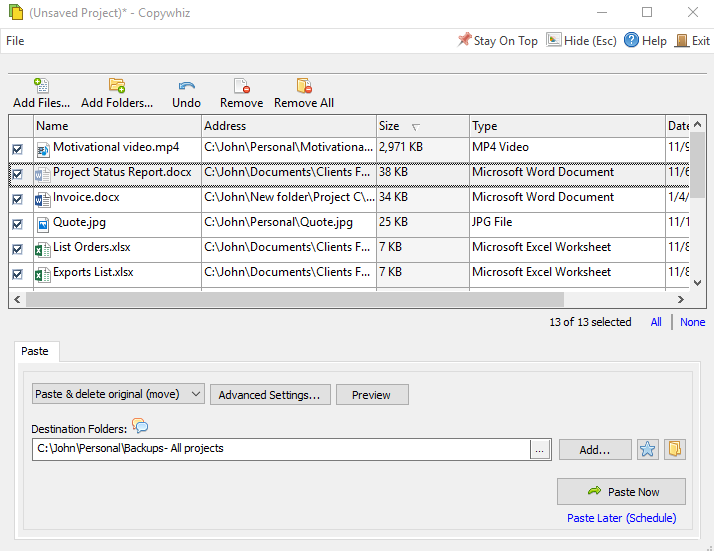
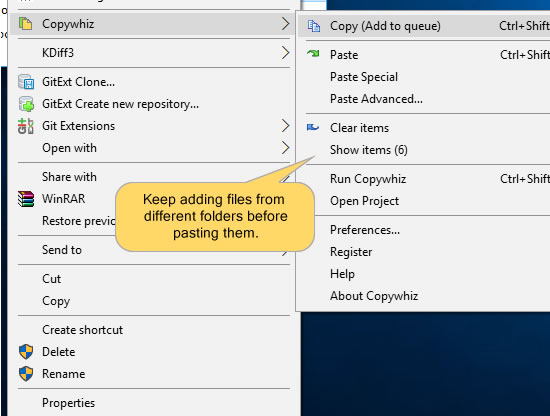
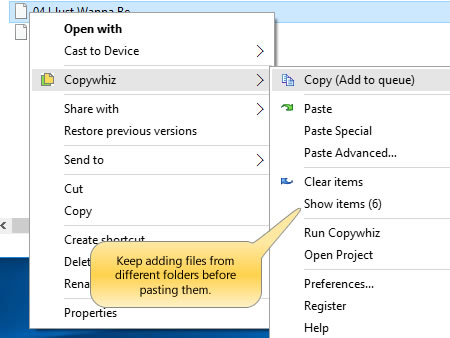
- Copy files from multiple folders and paste them at once
- Sync files between source and destination
- Pick files from multiple folders and compress in single .zip file
- Schedule file backups
- Verify copied files for data integrity
- Retain security attributes of files & folders (ownership/user access)
- Several more hidden nuggets designed to make your file-copy task easier.
Command line parameters
Here are the parameters supported by Copywhiz:
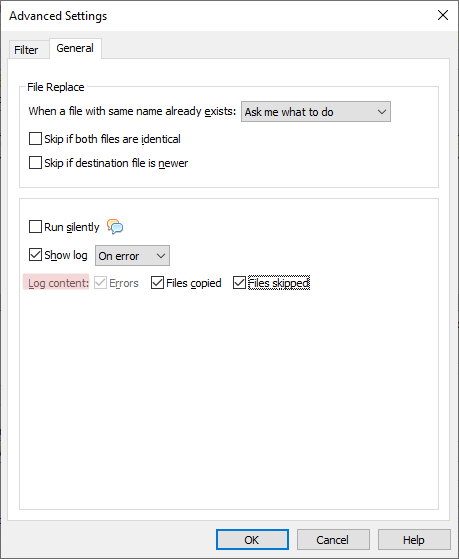
/t – Run silently
/b – Run in background
/le – Show log on error
Note: To use command line parameters, you first have to save the Copywhiz project as .czml file and then run the command line.
Here is an example: “C:\Program Files (x86)\Conceptworld\Copywhiz\ Copywhiz Copy.exe” /t /b /le “E:\My Documents\Copywhiz Projects\Test.czml“
With this, you can also run multiple commands inside a cmd file as per your requirements.
Learn more about Copywhiz. Download the free trial from here.
For short tutorial videos, Check out this page.
Subscribe to our YouTube channel for interesting videos.
Check out our other cool products.
Have a good day!
Thanks for your time :)