Hi Guys! Copying or backing up file even when the error occurs can help boost output and performance. Here we have two tools Copywhiz and Teracopy which can help us achieve the same and ensure that your critical files are copied or backed up even if some files encounter issues, enhancing data protection and system reliability.
What is Copywhiz?
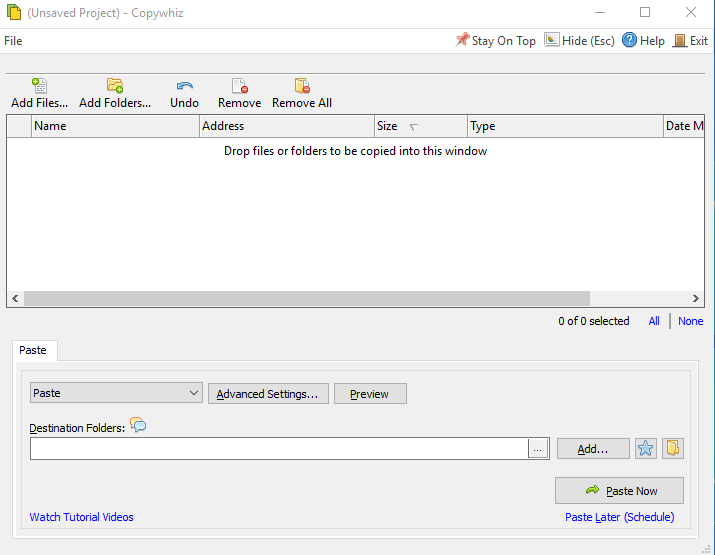
Copywhiz enhances your file-copy experience by letting you to have more flexibility & control over the file copying and backup process.
Here is how Copywhiz makes file copying a breeze:
- Copy only new or modified files
- Easily pick files by name, extension, folder etc from bunch of folders
- Automatically organize files based on file attributes and metadata
- Copy files to multiple folders/computers
- Copy files from multiple folders and paste them at once
- Sync files between source and destination
- Pick files from multiple folders and compress in single .zip file
- Schedule file backups
- Verify copied files for data integrity
- Retain security attributes of files & folders (ownership/user access)
- Several more hidden nuggets designed to make your file-copy task easier.
Below is a video describing this feature:
Video Transcription:
- As shown in the video, select the files, right-click and copy using Copywhiz.
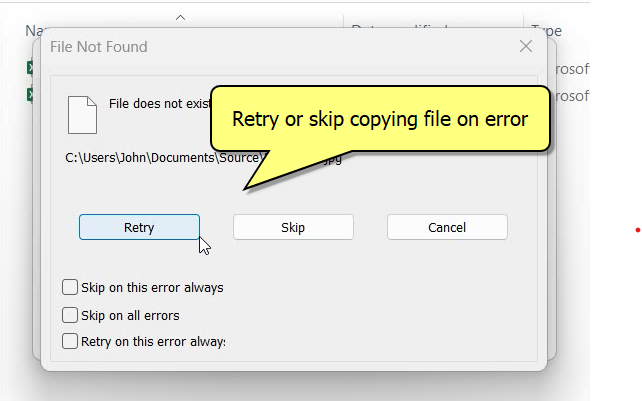
- Before we paste the files in destination folder we will delete a file from here.
- We now know that an error message will pop-up since a source file does not exist.
- We will now paste the files into this folder and see how Copywhiz responds.
- Right click and choose Paste with Copywhiz.
- As expected, an error message has popped up. We now have the option to retry copying, skip copying this file or cancel the whole copy task.
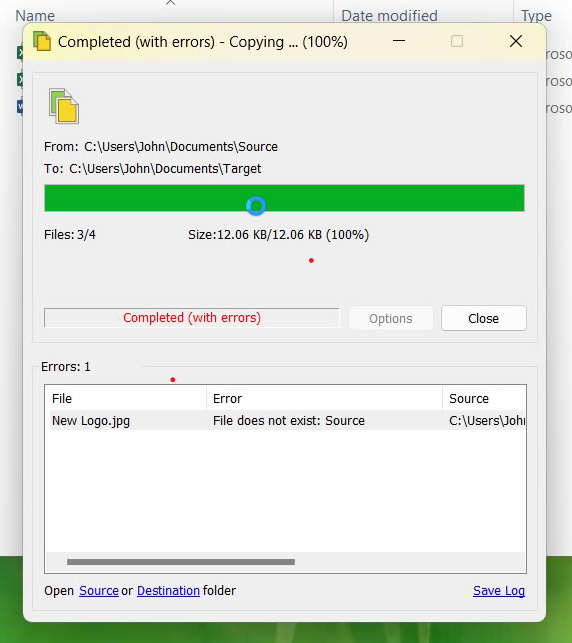
- After copying files, Copywhiz also generates a log with list of errors.
Using Teracopy to Handle File Copy Errors:
- Download and Install TeraCopy
Go to https://www.codesector.com/teracopy
Install the free or Pro version based on your needs.
- Open TeraCopy or use via Context Menu
Right-click the files/folders you want to copy.
Choose TeraCopy > Copy.
- Select Destination Folder
When the TeraCopy window opens, click “Browse” to choose your target folder.
- Enable Error-Skip Behavior
TeraCopy is designed to automatically skip problematic files and continue copying.
After the copy is done, you’ll see a detailed log showing any errors or skipped files.
- Retry or Fix Failed Files
You can retry failed files or export a list of them to check later.
Conclusion:
Copywhiz offers a user-friendly and robust solution, making it the ideal choice for professionals and everyday users alike.
Whether you’re managing backups or migrating data, choose Copywhiz to save time, reduce frustration, and ensure complete operations even when errors arise. Download Copywhiz today and experience the difference!
Learn more about Copywhiz. Download the free trial from here.
For short tutorial videos, Check out this page.
Subscribe to our YouTube channel for interesting videos.
Check out our other cool products.
Have a good day!
Thanks :)