We are pleased to announce the release of a new version of Copywhiz.
Introducing to you, Copywhiz 5.0.9!
Read the revision history here.
This post will explain in detail all the additions and changes in the new update.
What is Copywhiz?
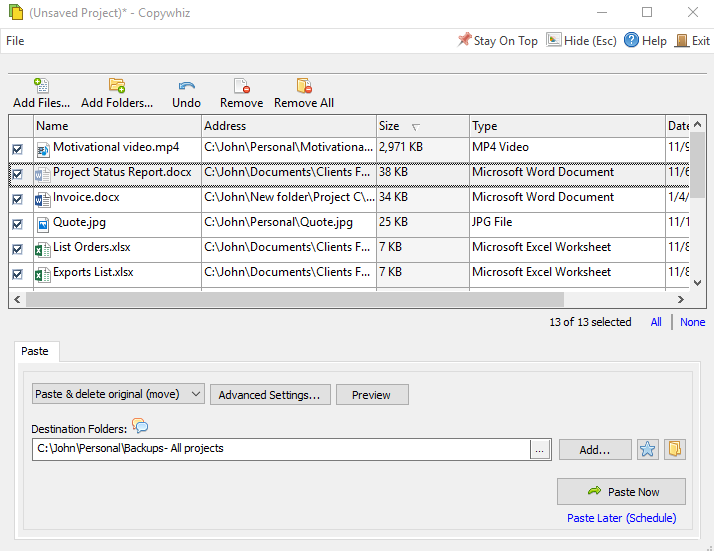
Copywhiz enhances your file-copy experience by letting you to have more flexibility & control over the file copying and backup process.
Here is how Copywhiz makes file copying a breeze:
- Copy only new or modified files
- Easily pick files by name, extension, folder etc from bunch of folders
- Automatically organize files based on file attributes and metadata
- Copy files to multiple folders/computers
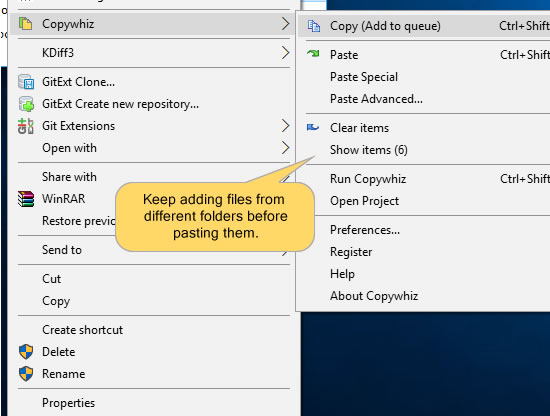
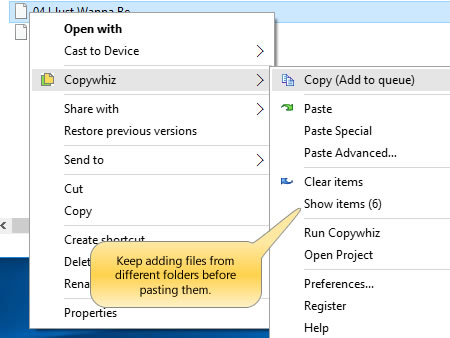
- Copy files from multiple folders and paste them at once
- Sync files between source and destination
- Pick files from multiple folders and compress in single .zip file
- Schedule file backups
- Verify copied files for data integrity
- Retain security attributes of files & folders (ownership/user access)
- Several more hidden nuggets designed to make your file-copy task easier.
What’s New?
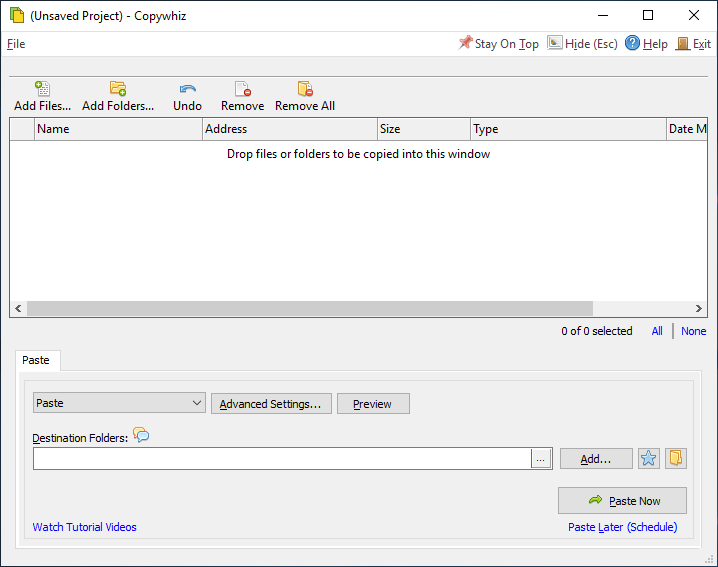
- Changed look of Copywhiz: The overall look of Copywhiz has changed for better readability and looks more professional. Now the program windows do not wear any special skin and only use the default Windows OS skin.
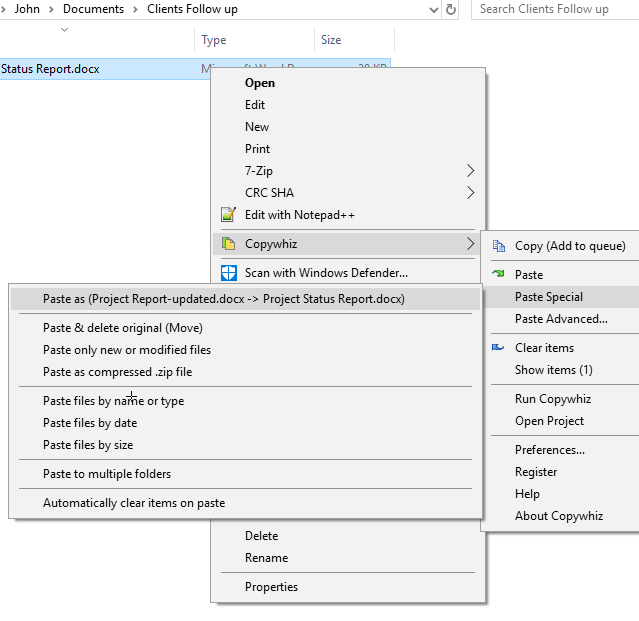
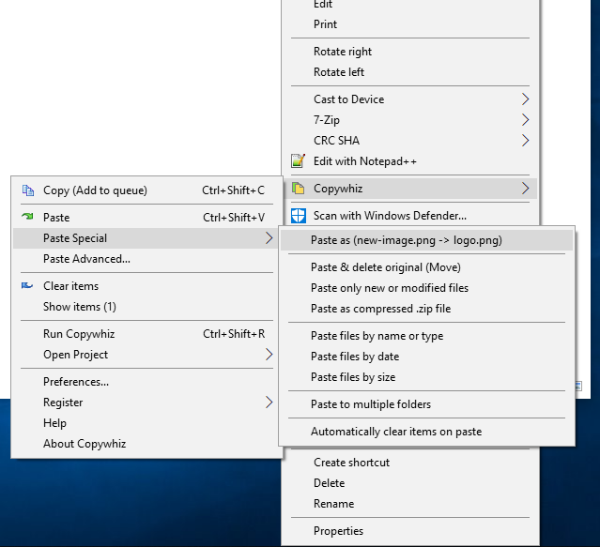
- ‘Paste As’ feature: This is a beneficial feature we have added to save time and efforts on replacing and renaming files copied.
Generally, to replace an existing file with another file, we have to go through a lot of steps. These consume a lot of our time.
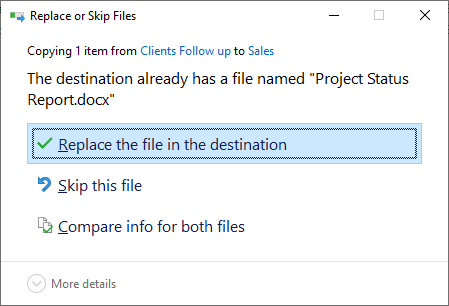
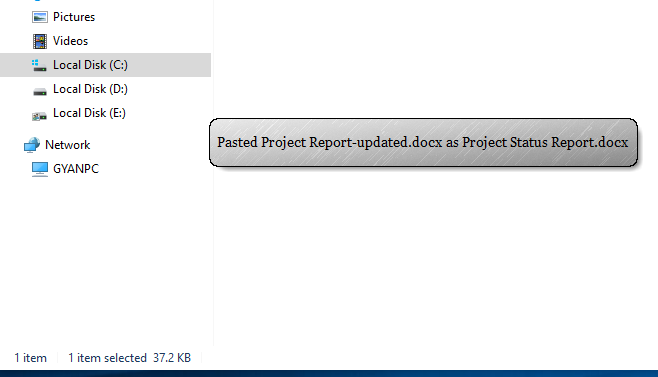
With the latest Copywhiz, say, you want to copy file ‘A’ as ‘B.’ You have to select file ‘A’ into Copywhiz and then right-click on file ‘B’ so that you can copy ‘A’ as ‘B.’ The file name stays the same, but the file is replaced if you open and check it.
So simple! You can paste any file as any other file. Very helpful to designers and programmers.
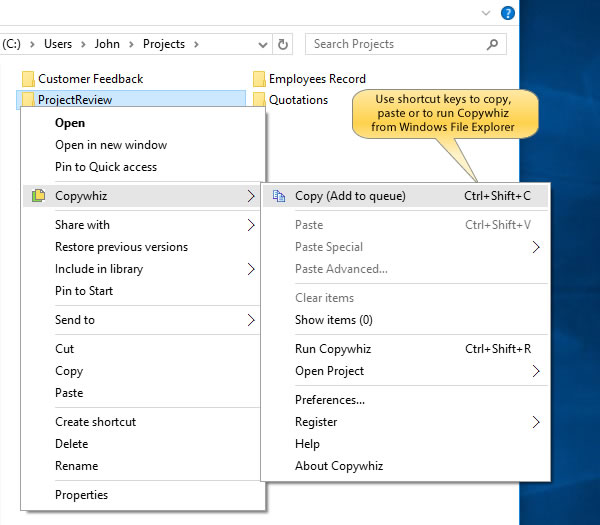
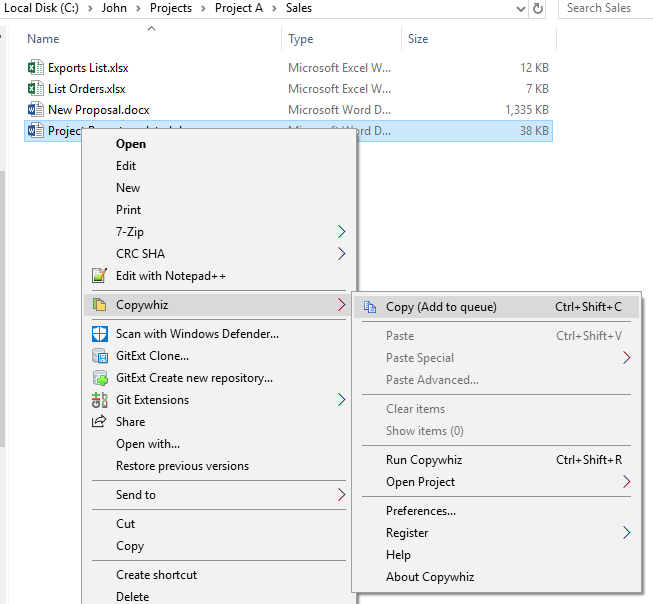
This option is available under the ‘Paste Special’ menu. To access this menu, go to the destination folder, right-click inside the folder and choose Copywhiz -> Paste Special.
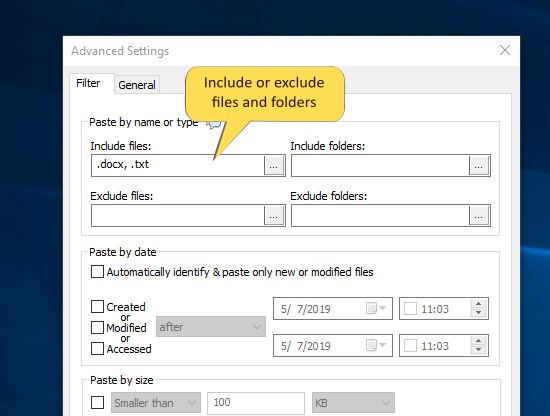
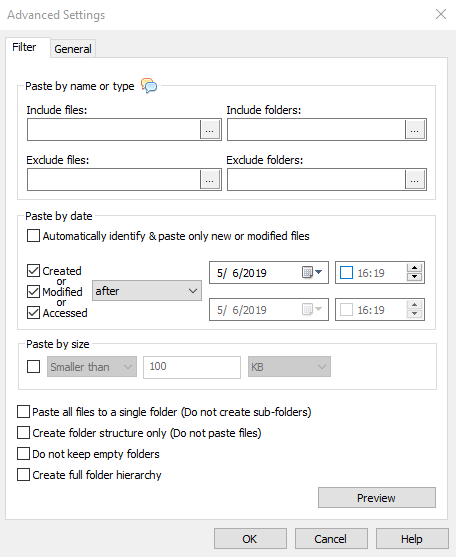
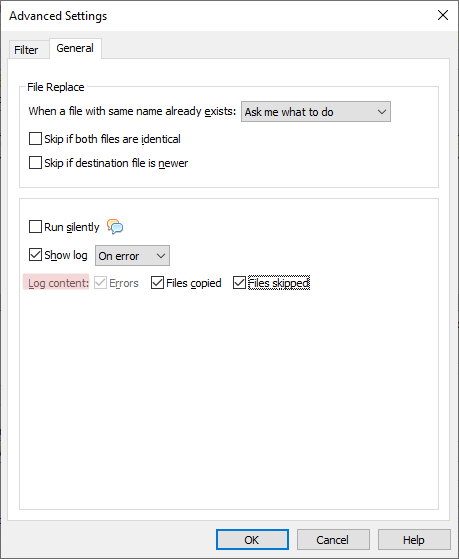
- Log Content: In the earlier version, there was option to only log errors in file copy. In the latest version, you can also log names of files copied, skipped, and renamed. The users thus get an idea of which files were copied, skipped, and renamed and which weren’t. The log file is saved as a “.html” file, which can be easily read. You can choose this option from the “General Tab” of Copywhiz’s Advanced Settings.
- Sound on successful file copy: When a file copy task is completed successfully, a sound will be played indicating the success. This is a useful feature when you are copying files silently or in the background. You can continue with your work once you set files for copy and come back to check the success of copy on hearing the sound.
- Change in text size on change in display resolution: When the screen display resolution changes, the text size in Copywhiz changes automatically. So now on Hi-Dpi display resolution, the text size in Copywhiz is larger for better readability.
You can check out the latest update by downloading and installing it from here.
Also, this new update is free for all our existing customers.
We hope this update of Copywhiz increases your productivity and enhances your file copy experience. Feedback and suggestions invited.
Have a good day!
Thanks for your time :)