Hey Guys! Data integrity is crucial when copying files, especially when handling large amounts of data or transferring critical files. In this guide, we will walk through how to achieve this using Copywhiz and Teracopy to verify data integrity.
What is Copywhiz?
Copywhiz enhances your file-copy experience by letting you to have more flexibility & control over the file copying and backup process.
Here is how Copywhiz makes file copying a breeze:
- Copy only new or modified files
- Easily pick files by name, extension, folder etc from bunch of folders
- Automatically organize files based on file attributes and metadata
- Copy files to multiple folders/computers
- Copy files from multiple folders and paste them at once
- Sync files between source and destination
- Pick files from multiple folders and compress in single .zip file
- Schedule file backups
- Verify copied files for data integrity
- Retain security attributes of files & folders (ownership/user access)
- Several more hidden nuggets designed to make your file-copy task easier.
Below we have a video describing this feature:
Video Transcription:
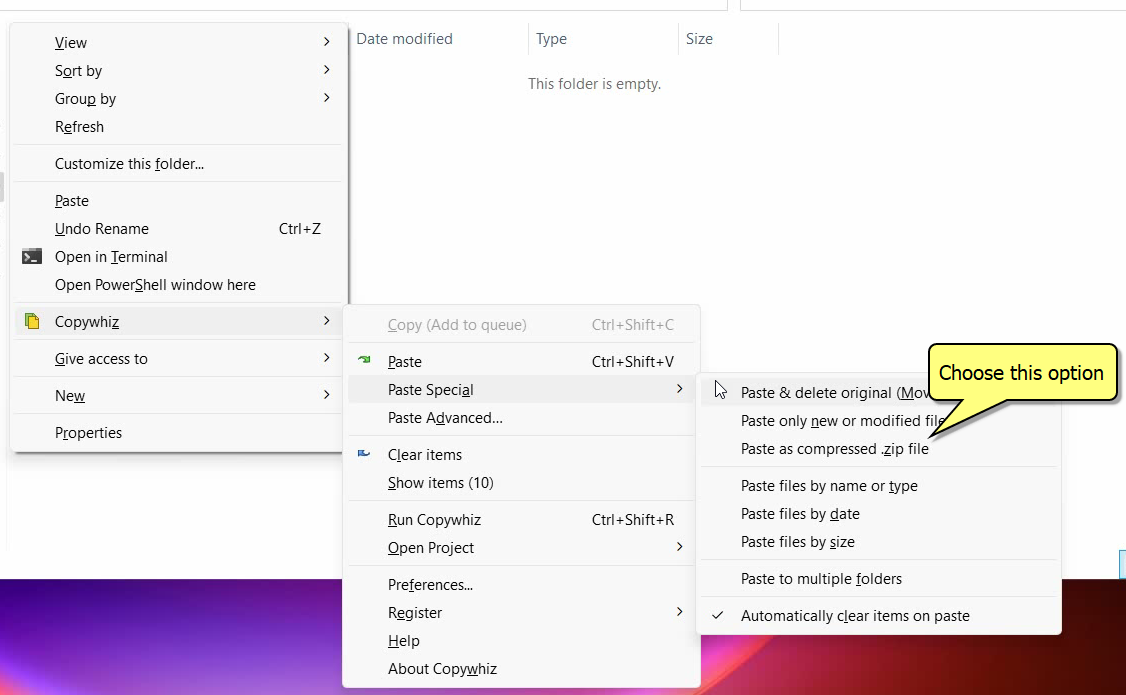
- As shown in the video, Right click and copy using Copywhiz.
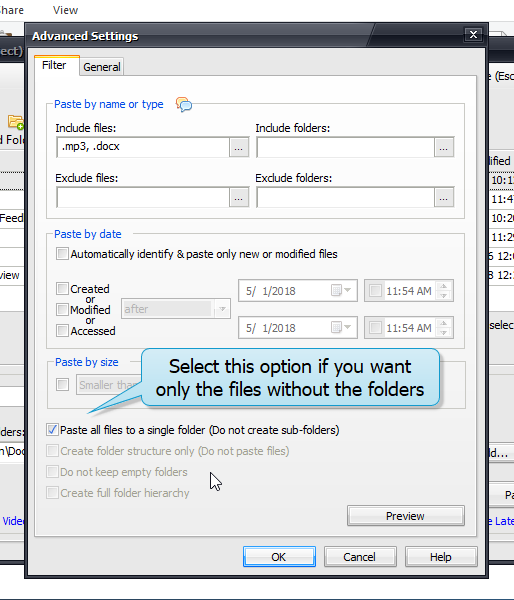
- Go to the destination folder, right click and choose Copywhiz Paste Advanced.
- In the General Tab, choose the verify files option.
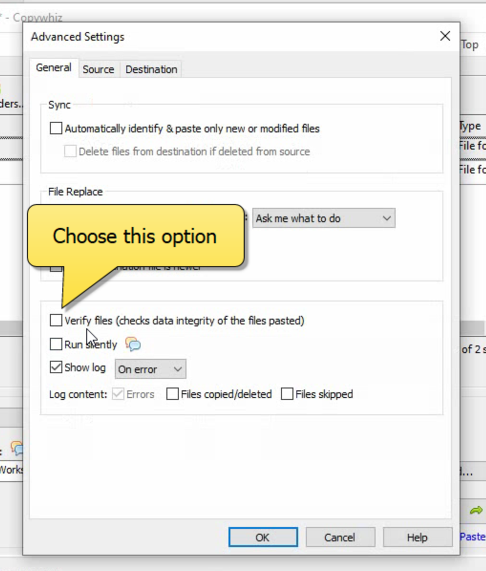
- Click on paste now.
Using Teracopy:
Step 1: Download and Install TeraCopy
- Download TeraCopy from the official website (https://www.codesector.com/teracopy).
- Install the software following the on-screen instructions.
Step 2: Copy Files Using TeraCopy
- Open TeraCopy.
- Click + Files or + Folder to add the files or folders you want to copy.
- Select the destination folder.
- Click Copy or Move to start the transfer.
Step 3: Verify File Integrity
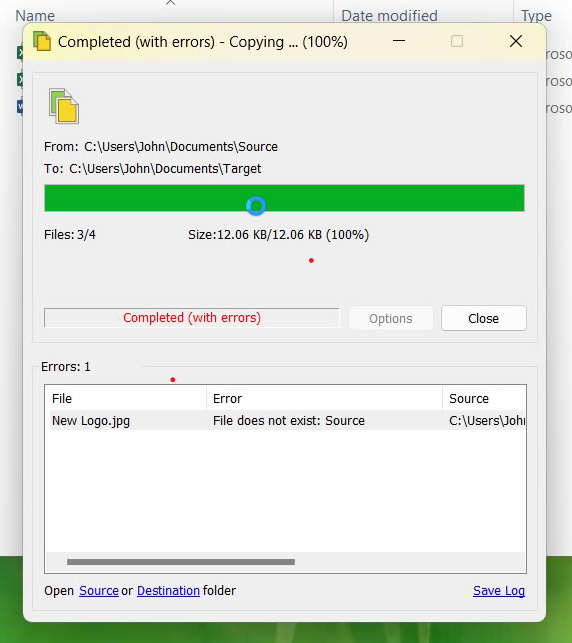
- Once copying is complete, TeraCopy automatically performs a CRC (Cyclic Redundancy Check) to compare the original and copied files.
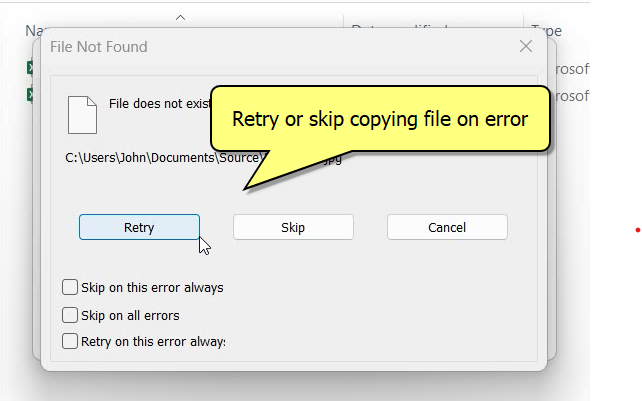
- If there are discrepancies, TeraCopy will highlight the errors, allowing you to retry or fix the issues.
Conclusion:
Copywhiz is an effective tool for verifying file integrity in Windows. It is perfect for those who value convenience and need advanced features like automated verification and detailed logs.
Choose the tool that best fits your workflow and enjoy peace of mind knowing your files are copied securely and reliably.
Learn more about Copywhiz. Download the free trial from here.
For short tutorial videos, Check out this page.
Subscribe to our YouTube channel for interesting videos.
Check out our other cool products.
Have a good day!